Publish your site
Put your site live, publish new changes, share a preview first, and take the site offline again.
Everything you change in the studio is a draft until you publish. Publishing puts the latest version of every page live at once, so visitors never see a half-finished edit.
Publish for the first time
-
On your site's dashboard, click Publish site → in the box at the top right. The box also shows the address your site goes live at.
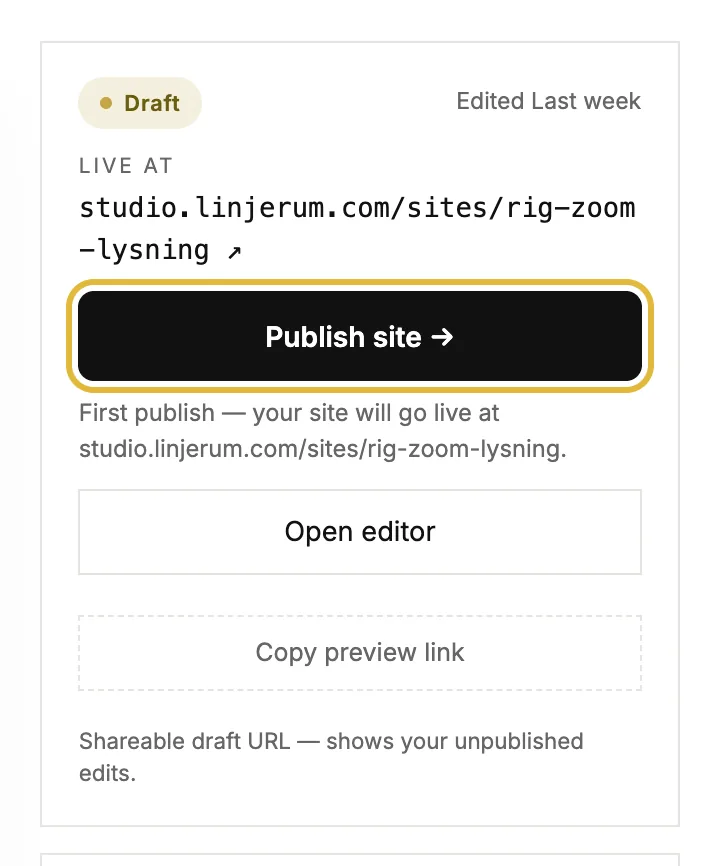
-
Publishing needs a plan. The first time, you're asked to choose one: Choose a plan shows the plans, and Keep editing takes you back. Building your site stays free.
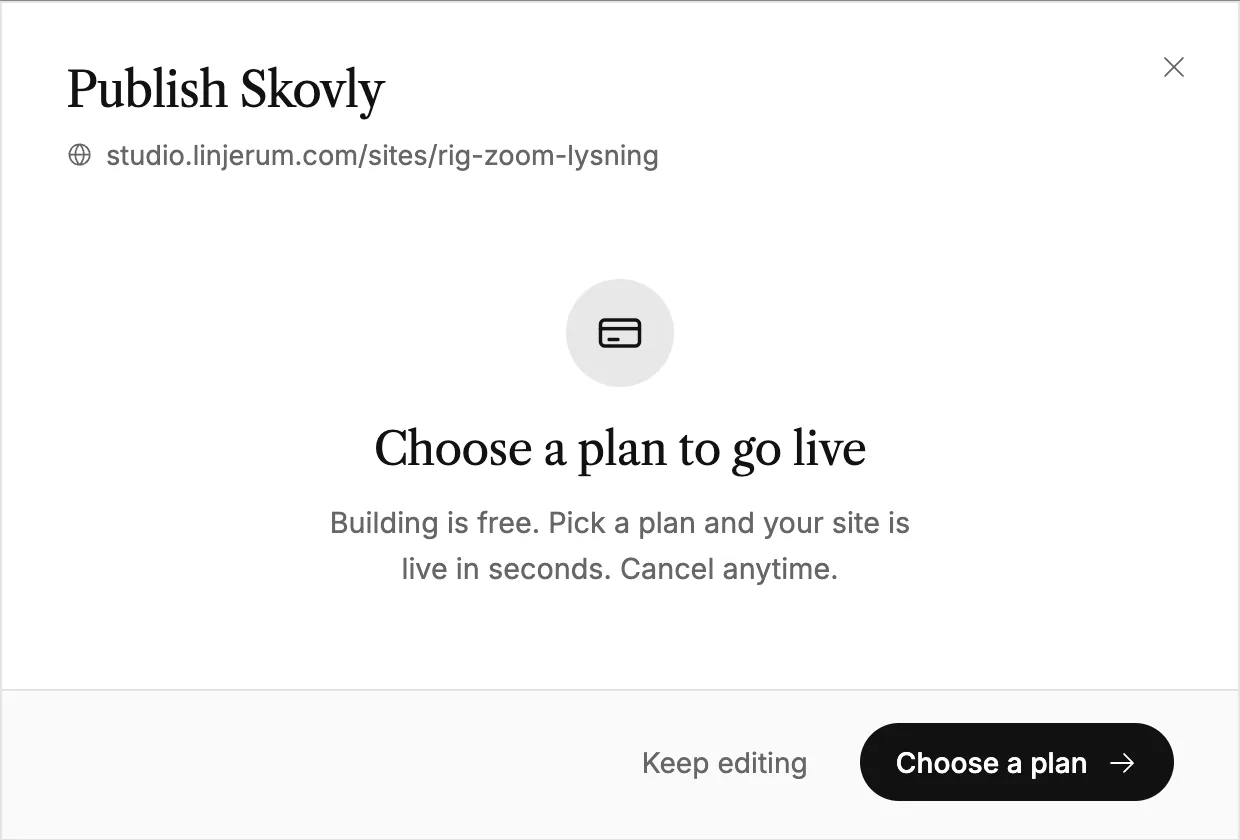
-
With a plan in place, the same window lists what's about to go live: every page, and every change grouped by page. Click Publish site to go live.
-
Your site is now live. To give it your own address, see Connect your own domain.
Publish new changes
Once your site is live, keep editing as much as you like. Visitors see the live version until you publish again.
The button on the dashboard counts your unpublished edits, for example Publish 13 edits →. Click it, check the list of changes and publish.
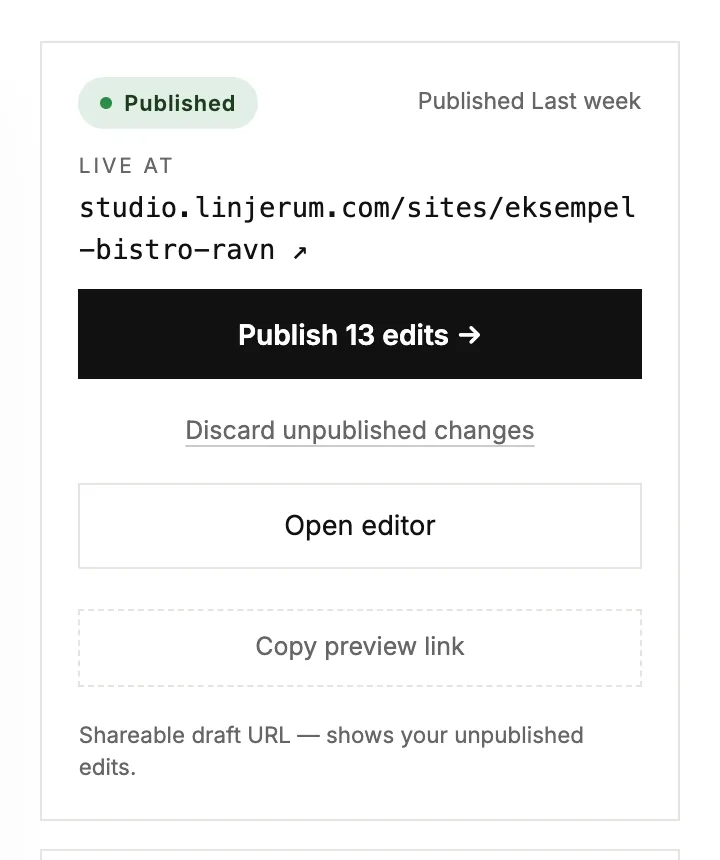
In the editor, use Publish at the top right. A dot on the button means there's something new to publish. You can also press ⌘S (Ctrl+S on Windows).

Share a preview first
Copy preview link on the dashboard copies a link to your draft, unpublished edits included. Anyone with the link can see it without logging in, so you can send it to someone for a second look before you publish.
Undo, or take your site offline
- Discard unpublished changes throws away every edit since you last published and puts your draft back to what's live. This can't be undone.
- In the editor's History, you can restore an earlier version and put it live straight away with Restore and publish.
- To take your site offline, open the ⋯ menu at the top of the dashboard and choose Unpublish. Visitors see a coming-soon page, and nothing is deleted. Publish again to bring it back.